So, you should have made your pattern and cut the fabric by now according to the
StarQuilt -tutorial (part1)?
This is what we aim to.
Sew first the central square blocks. You can sew it all in a line. Meaning just don't cut the thread when moving on to the next blocks. Just reverse few stitches on the begin and at the end of each seam to secure the seam and then feed in the next blocks.
You can work in this way with each seam. It is like working by conveyor belt in mass production. It eases your job a lot. It also makes it a bit faster.
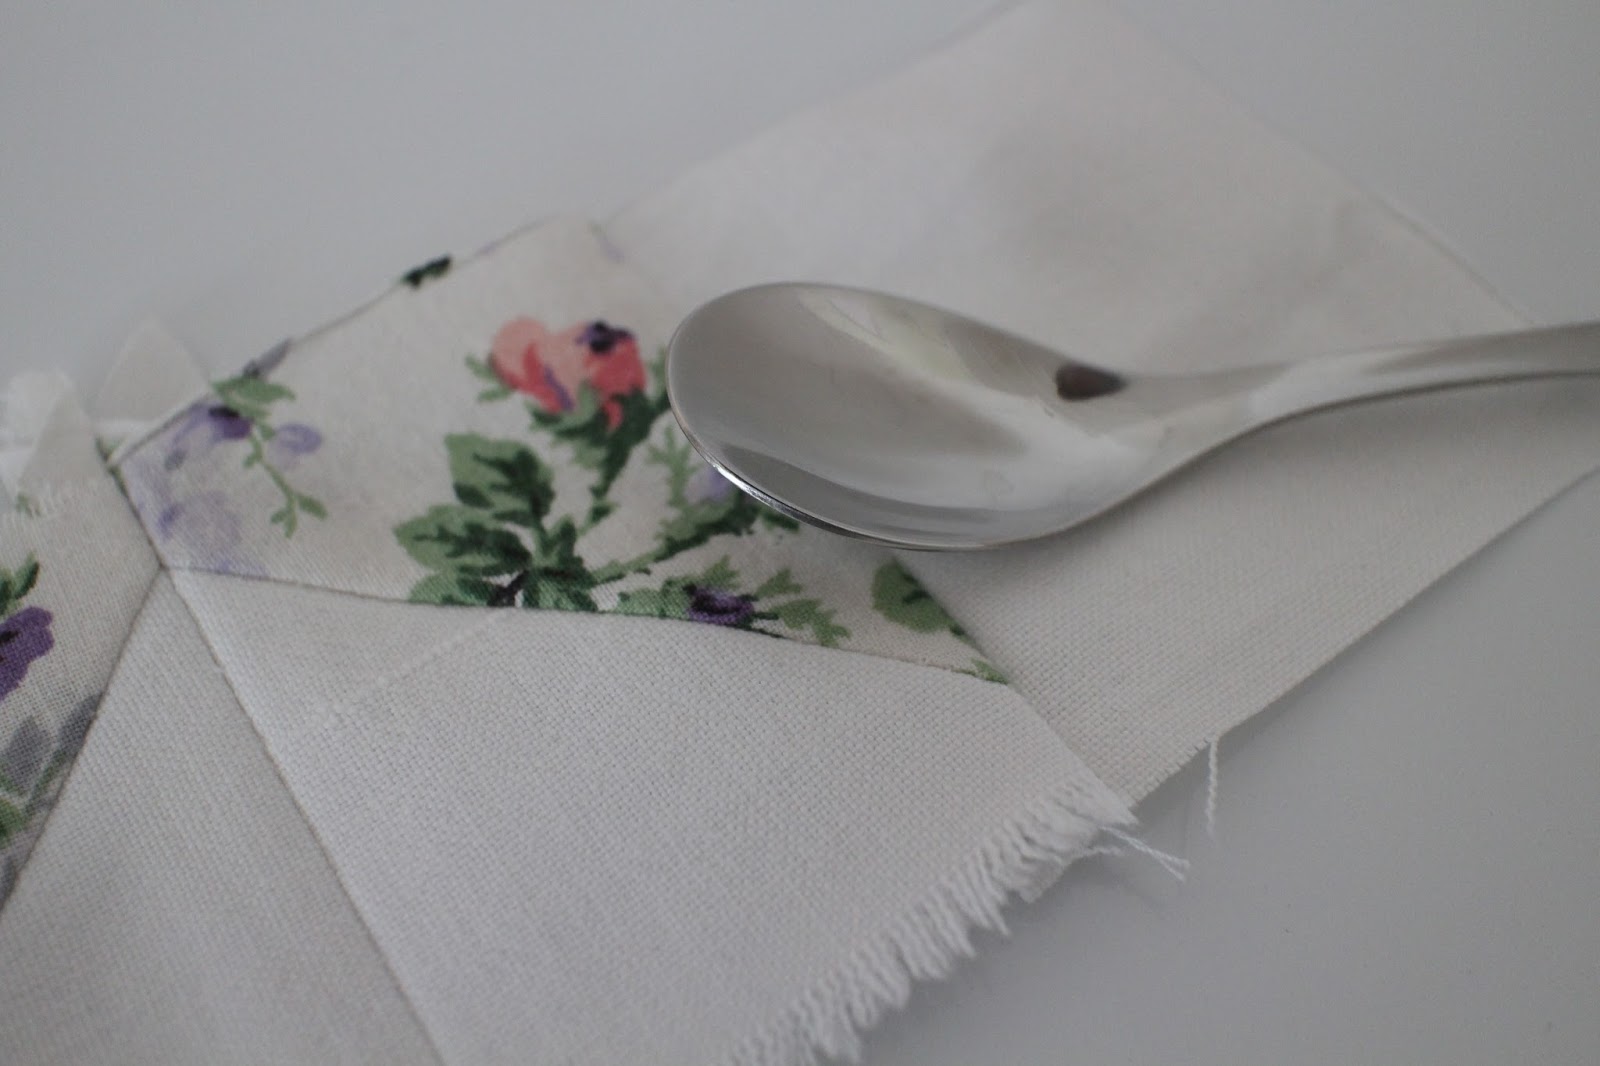
After the first seams I do my first ironing unless the fabric is impossible wrinkled to cope with drawing the patterns and cutting. Before ironing open the seams. Fingertips & nails are good for that. But if you have many seams to work with it may make your fingertips to be sore. A spoon is excellent "every house" tool for opening the seams and preparing them for ironing if you don't have any fancy sewing or patchwork equipment for this.
Open the seams from the back side and then flat them also on the front side if needed. Now the blocks are ready for ironing. When you do this preparing work you don't need to burn your fingers when ironing.
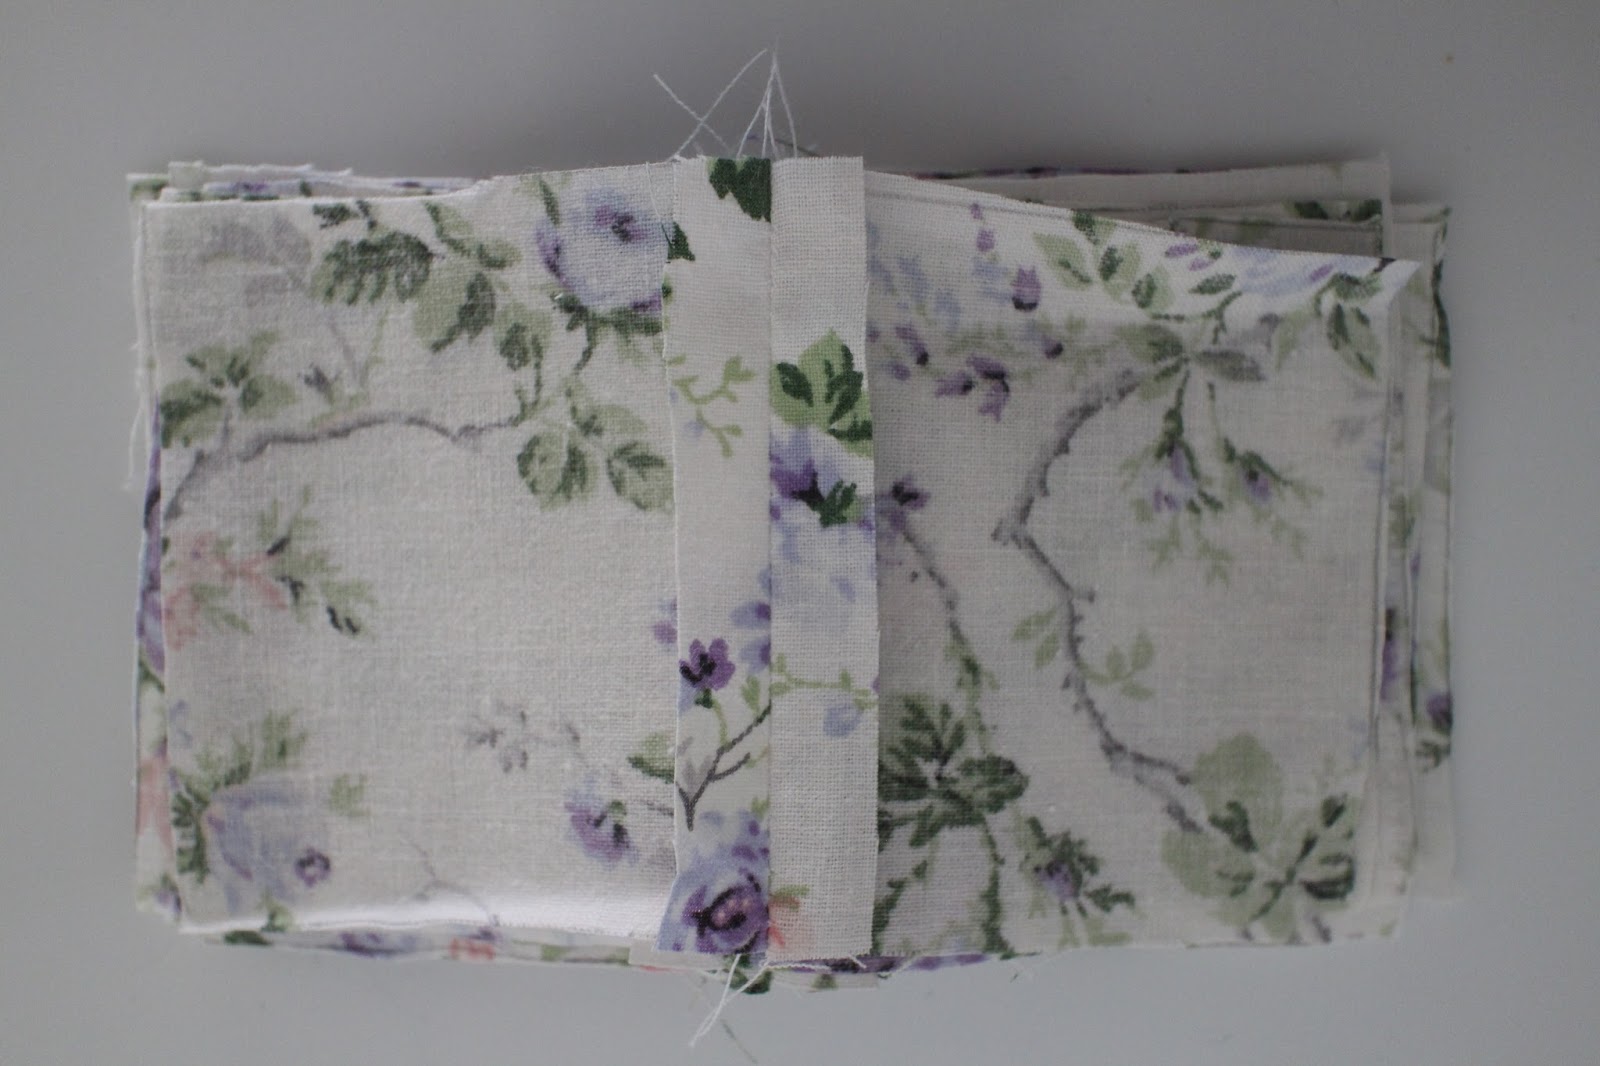
You need to also combine the triangles to be come squares again. When you have done that too; pile the blocks. See below the right folding direction for the triangle seam. It comes towards the star fabric.
We work in lines here. Connect the triangle square blocks to the central blocks like pictured above.
Pay attention on it how to fold the seams! Notice you need to sew it all in the same way. Later on you can turn half of these central line blocks upside down.
I recommend you to make the central lines first because then you avoid calculating. Which means you use just as many triangle square blocks as needed in the central parts. The remained ones are enough for the rest of the StarBlock. If you do it opposite it may be you connect too many cusps. At the end it really doesn't matter in which order you sew these four lines; especially if you have fewer StarBlocks and it is easier to keep up the calculating. But here I guide you to do it in the order "central block lines first".
So, now, connect the central lines together.
Here is how the seams should be folded.
Now, take the remaining triangle square blocks and arrange in the pictured way to make the sewing easier.
Sew the seam and fold it in the pictured way. Notice that again you need to sew them only in this way and turn half upside down later on.
Now connect the white square blocks in the pictured way. Again; fold the seams as pictured. Seams folded to the right direction makes it more tidy and eases your stitching later.
Then you just fasten the new block lines you just made on their places and fold the seams like this. It doesn't matter if there is mistake or two with folding every here and there. See mine on this block at right below corner. These kind of errors are fine. Grander you need to fix.
Here it is; finished
my own design StarQuilt block. In the next tutorial part I show how to connect the stars to become a quilt.