to publish tutorial about sewn bookmark today.
Here it comes!
You need double amount of felt as you need bookmarks; for both front and back side. The needed size of the felt is the desired size of the bookmark. If one's finished size is 5 x 20 cm for five bookmarks you need 25 x 20 cm → twice, one for lining and one for front side.
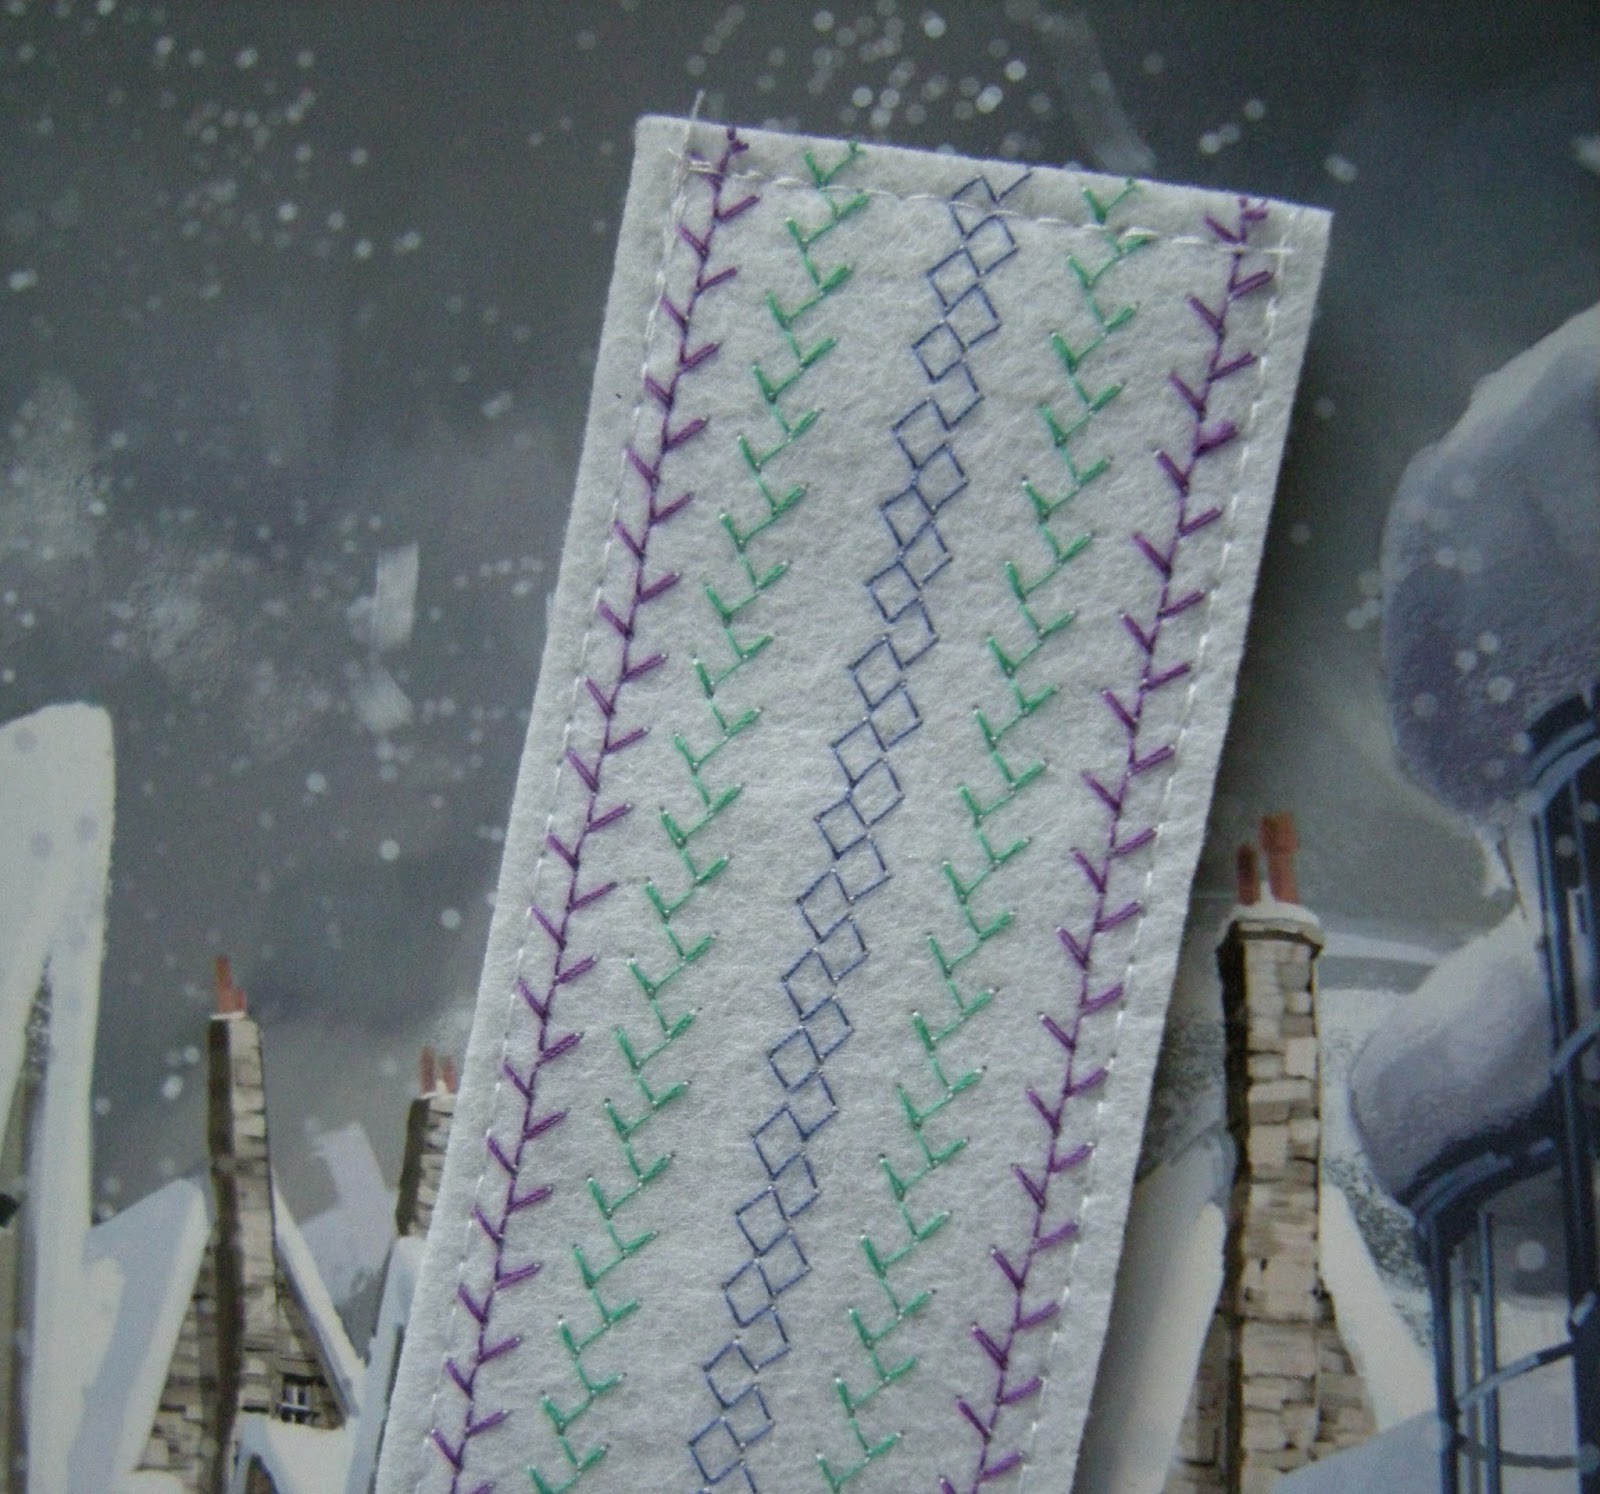
By gently pen touch mark the bookmark edges on the felt. It is easier to stay in lines by starting sewing in this way: the edge decoration lines first.
Then sew always next one to the central direction.
If you are advanced in using sewing machine you can use back side's shade as bobbin thread. Otherwise always use similar shade with bobbin thread as the sewing thread. Mistakes with adjustments can not be seen so easily then.
When you are finished with the decoration place the back side fabric (lining) under the front side fabric and pin it onto its place.
Make sure you have marked all the edges and cut off the thread ends.
Sew around the bookmarks and cut off. Compare this and the picture above to notice you don't sew over the pen line that separates the individual bookmarks. That is the line for cutting.
Now you have easy home made personalized sewn bookmarks!
My own design but for sure you can personalize you own ones too!