

You can use seaming machine or zigzag.

Pin the bottom of the bag.

Match it with the side edge...


I used 5 cm distance; which ever is your choice, pin it...

...sew it...

...on both side corners.

It looks like this when finished.

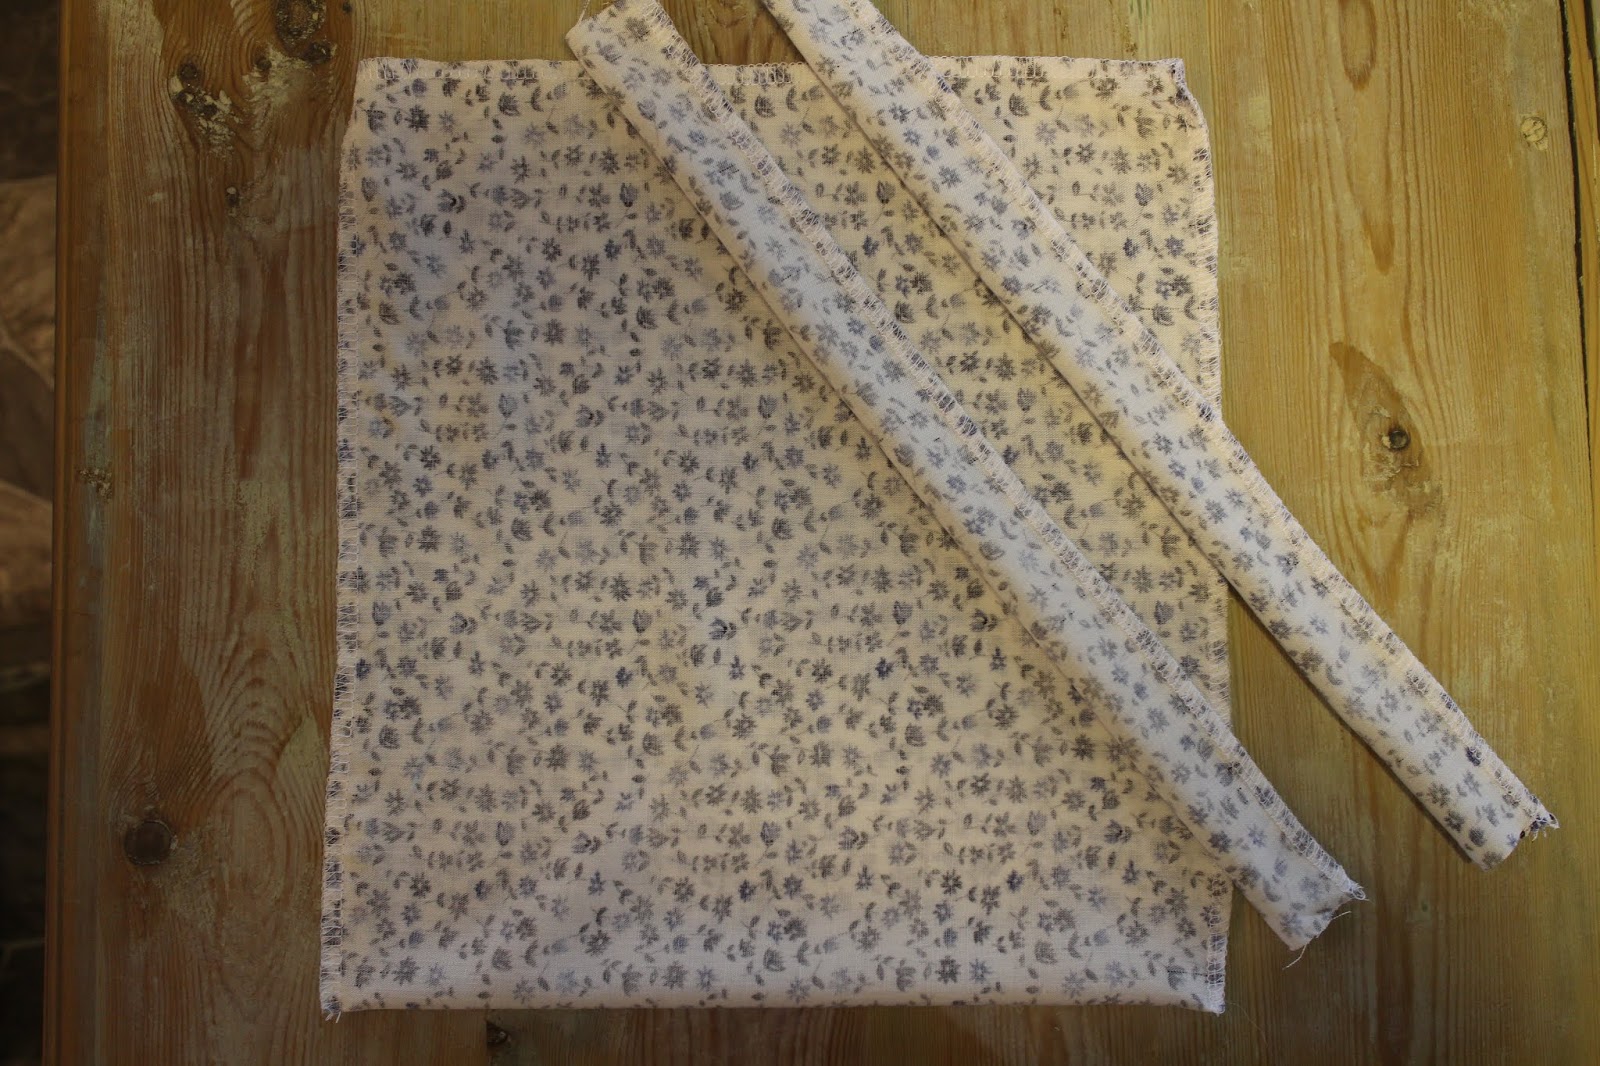
Neaten the upper edge of the bag.


To turn the right side out of the handles...

...use safety pin.

It is a bit difficult...

...but eases up very soon. Just pull it through; gently.

Neaten by iron and stitch the handles.

Pin the handles to the 1/4 points of the upper edge.

Attach the handles by sewing.

Pin the upper edge at desired distance.

Fold the upper edge...

...and sew the fold and the handles.

Ta-dah! Your bag is finished. I have used fabric shopping bags for ages.