
Here are the English instructions for making it.
Basic work
Needle: Tapestry 18
Fabric: 8 Count Aida
Fabric size: min. 25 x 35 cm
Use 3 strands of the skein for cross stitches
Use 2 strands of the skein for back stitches
DMC Blanc (4,6m)
DMC 828 (2m)
DMC 973 (0,2m)
DMC 318 (8m = 1 skein)
DMC 798 (3m)
DMC 317 (2,5m)
DMC 666 (0,2m)
DMC 824 (52m = 6,5 skeins)
DMC 310 (0,8m)
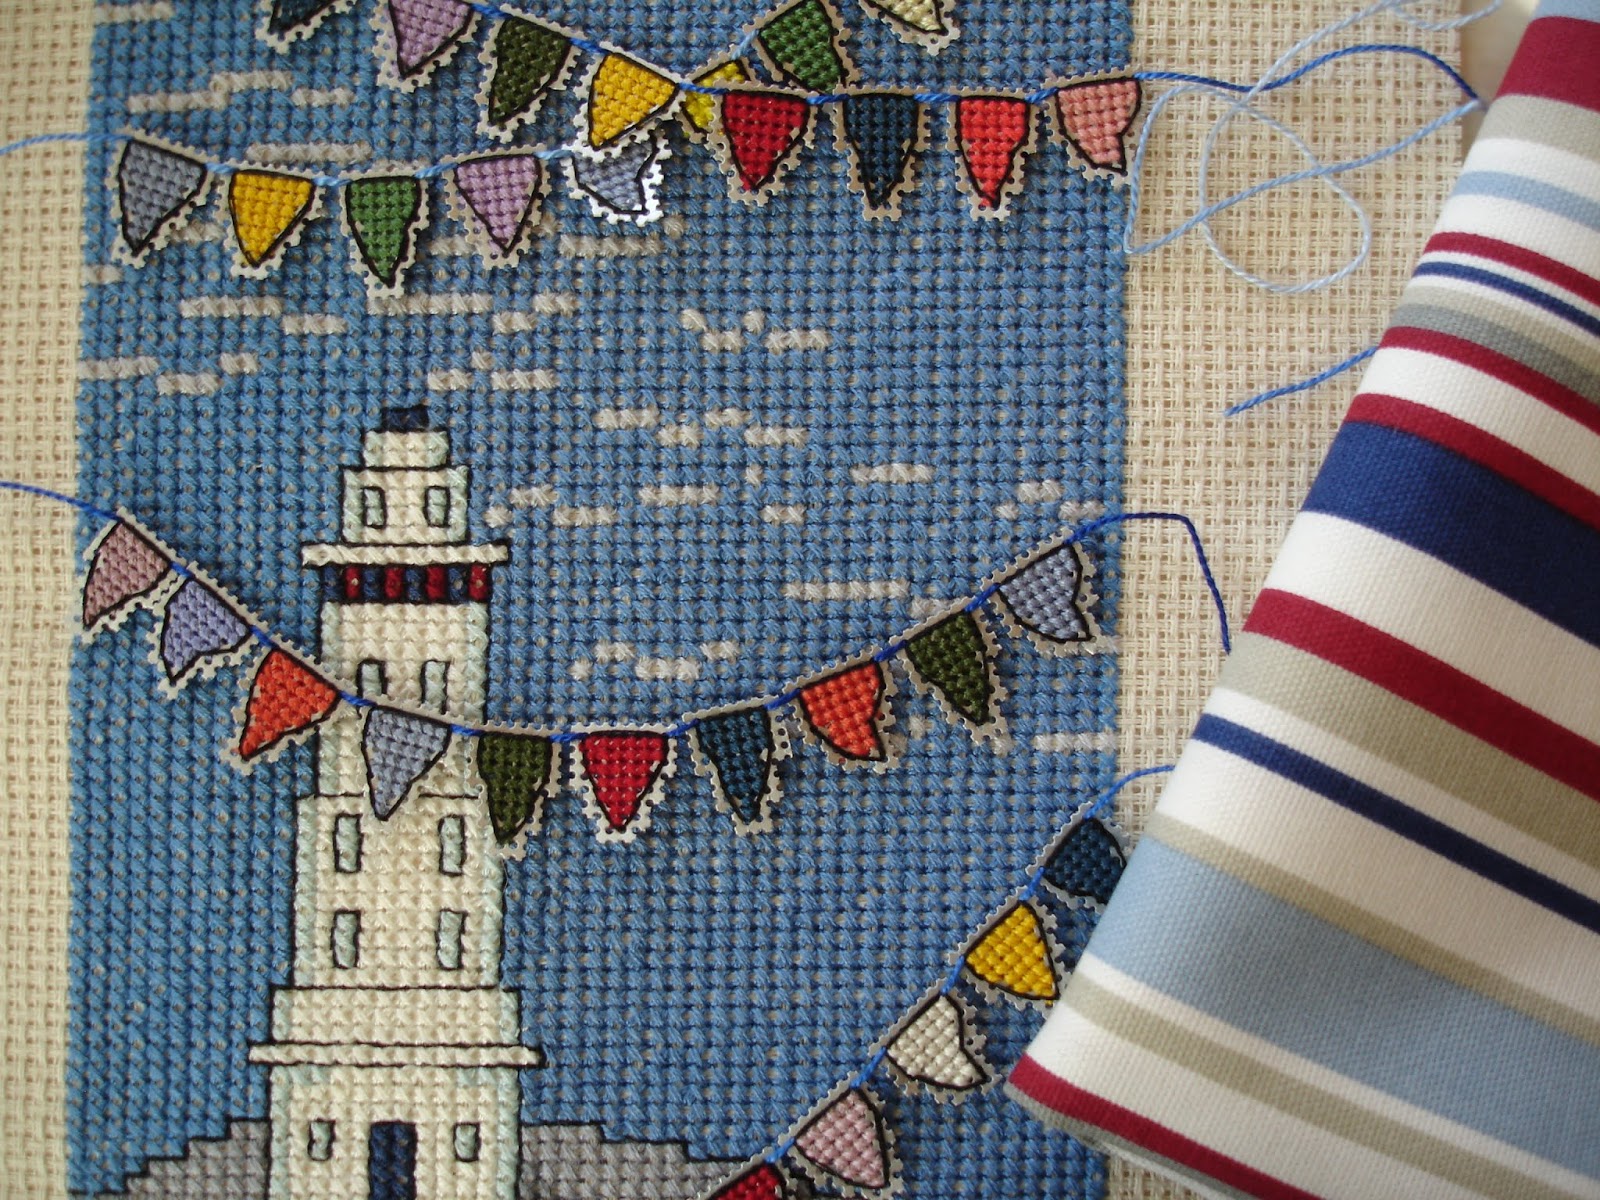
Bunting
Needle: Tapestry 24
Perforated Paper: 14 count
Perforated Paper size: 20 x 12 cm (you can use small left over pieces)
Use 2 strands of the skein for cross stitches
Use 2 strands of the skein for back stitches
Make 38 different kind of flags with desired shades (you can use your loose end threads)
Form out the buntings and fasten them in desired style across the Light House No1 design


Design the bunting.

Prepare the bunting.
Arrange again with the fabric.

Cut off the extra.

Sew the edges by using fabric stripes.

Sew them around the picture to form out the frame.

Take the bunting threads through the fabric to the back side.

When you are sure all the bunting is there where you want; turn out the fabric.
Be careful!
Fasten the loose ends the the back side to keep the bunting stay there where you want.
Watch out not to tighten too much!

Stitch around the picture.

Sew the bands for the hanging.

Pin the back side fabric and cotton wool to the front side picture.
The front side picture is between the fabrics.

Remember to pin the front side picture face against the back side fabric.

Remember to include the bands for the hanging.
Sew around.
Leave 10 cm hole somewhere for turning out the project later on.

Be careful when turning out the project.
Remember you have the bunting there!

Close the 10 cm hole.

Sew around the edges to make the hanging to keep its shape better.